Hi Bowl of Cherrys readers. Today Summer is doing a guest post over here on my blog. I hope you enjoy her great tutorial!!! --Kristi
Hello everyone!
I'm so excited to be guest posting over here today on Bowl of Cherrys. Isn't Kristi amazing?? I hope you go check out her awesome tutorial on my blog today!
I'm Sumo, from Sumo's Sweet Stuff!

My real name is Summer, but my husband nicknamed me Sumo when we were dating. (Should I be offended?) Now he's got all of my family, as well as lots of our friends, calling me Sumo. I think Aunt Sumo sounds pretty great, don't you? I live in Utah with my husband, and our two beautiful daughters!

Growing up, I never used to be all that domestic or crafty, so I think no one is more surprised than my mom at how I've ended up where I am today! I started Sumo's Sweet Stuff last May as a place to keep some of my crafting projects so that my personal blog wasn't overrun with them. Somehow, that developed into a place to host giveaways, share tutorials, share recipes, and feature fellow bloggers' ideas and blogs! I also use my blog to promote my etsy shop, so if you're ever in the market for some baby girl accessories, come on over! Every Monday is Market Yourself Monday, where you can link up your latest projects, and visit other blogs to get some inspiration!
Today I'm going to share a tutorial with you that I posted a view weeks ago on my blog. It's one of my favorites (I'm actually working on a couple more right now!) so I just had to share it again!
Here's the tutorial for a darling t-shirt/onesie dress!
So here's what you need:
- t-shirt (mine was a $3.50 tank from Wal-Mart)
- fabric
- iron
- sewing machine/accessories
- buttons (optional)

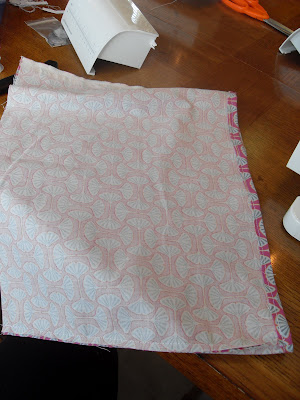
You'll want to start off by using a dress your little girl already has for some measurements. For the body of the dress, you'll want to measure across the width, and then cut your width of fabric to be one and a half times that. As for the length, you'll just want to figure how long you want the dress to be, subtract how much shirt you are leaving, and there's your measurement for the length. If you are smart, use the fold of the fabric to cut this piece out. That saves you sewing a side. You can see that I was not smart.

For the ruffles, you'll want to make them as long as two times your width since you will be gathering them to make them ruffle. For the width, it just depends on how long your dress is going to be and how many different fabrics you are using. I needed five ruffles that would be about three and a half inches wide, so I cut them at four inches to account for seams. Again, use your fold! I got smart this time!

You'll want to pin the two right sides of your fabric for the body of the dress together and sew the seams. I used a 1/4" allowance.

Next I ironed a 1/4" on the bottom of the body and sewed it.

At the top of your body, do a gathering stitch by setting your stitch length to the longest length. Don't backstitch here! You'll need your thread ends nice and long so that you can pull.

After I did the body, I closed up one of the ruffles, ironed and hemmed it, and did the gathering stitch at the top. This was the ruffle I wanted to go first.

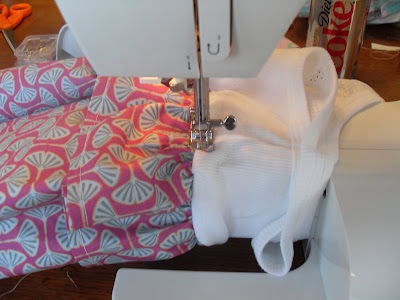
Next you are going to pin your ruffle, body, and half shirt together and sew a quarter inch seam.

Turn it right side out and top stitch.

Doesn't this look like a little 80's dress??

Then you're going to want to hem and gather all of your other ruffles. Here's a little pile of ruffles!

Then, measure the distance that you want between ruffles. Okay, I was living on the edge and just eyeballed it! Pin your ruffle down and sew it all the way around.

Then top stitch all the way around. Do this for all of your ruffles.

Looking good so far!

Then I decided that I wanted to put something on the sleeves of the tank. I traced a circle and cut it in half.

Then I ironed down the curved edge and sewed it....

And then did a gathering stitch to give it a bit of a ruffle.

Sew them on to the tank.

Make a cute flower and hand stitch it on.

Hand stitch on some buttons.

And you are done! A cute, unique dress!

I also made one out of a onesie for my baby.

Then put them on the cutest girls you know and admire your work!


1 comment:
that is absolutely adorable! i wish i had that talent!
Post a Comment