


http://kikibomi.blogspot.com/2014/02/matryoshka-dolls.html
Check out my latest Matryoshka creation over at kiki b omi today!
Monday, February 3, 2014


Tuesday, January 28, 2014
Weekend in the Rearview
I just posted about the blessings of life and a weekend spent at home as a family.
http://kikibomi.blogspot.com/2014/01/weekend-in-rearview.html
http://kikibomi.blogspot.com/2014/01/weekend-in-rearview.html
Thursday, January 23, 2014

Thursday, January 16, 2014

Wednesday, January 15, 2014
Winter Pick-Me-Up
Head over to my new blog, kiki b omi designs, to see the virtual spring flower garden Peachy and I recently created!
http://kikibomi.blogspot.com/2014/01/winter-pick-me-up.html
http://kikibomi.blogspot.com/2014/01/winter-pick-me-up.html
Tuesday, January 14, 2014
A Little Blue Truck Project
Hi!
Today on the new blog I am sharing a Little Blue Truck project I made for a 2 year old's birthday. Check it out!
http://kikibomi.blogspot.com/2014/01/little-felt-blue-trucks.html
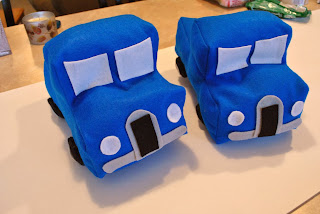
Today on the new blog I am sharing a Little Blue Truck project I made for a 2 year old's birthday. Check it out!
http://kikibomi.blogspot.com/2014/01/little-felt-blue-trucks.html

Monday, January 13, 2014

Friday, January 10, 2014

Thursday, January 9, 2014
Things That Go Bump In the Night
You can read all about an interesting night we had this week on my new blog.
http://kikibomi.blogspot.com/2014/01/things-that-go-bump-in-night.html
http://kikibomi.blogspot.com/2014/01/things-that-go-bump-in-night.html
Tuesday, January 7, 2014
Homemade Snowflake Window Clings
Jump on over to my new blog, kiki b omi designs, to see a great wintery craft project!

http://kikibomi.blogspot.com/2014/01/homemade-snowflake-window-clings.html
http://kikibomi.blogspot.com/2014/01/homemade-snowflake-window-clings.html
Monday, January 6, 2014
Big News! Bowl of Cherrys Is Moving . . .
I am moving! Not as in houses, but as in web addresses. It is something that I have been contemplating for quite sometime now and I figured that there is no better time to do it than the new year. I will still be hosted by Blogger, but will be using this address: http://kikibomi.blogspot.com/ Please update any feeds that you may have!

There are several reasons that I wanted to do this. The first being a more unified web presence. (Don't I sound all highfalutin?!) Since I began my Bowl of Cherrys blog over five years ago, I also opened an Etsy store under a different name. That gave me three different web identities, Bowl of Cherrys, kiki b omi designs, and then the real me. Changing my blog to kiki b omi designs helps me to use Pinterest, Facebook, Instagram and more under one name. (If you follow me on Pinterest, you may have noticed that I switched to kiki b omi designs on there last week.)
I also wanted to simplify my blog. I did that by using side tabs that categorize my posts into six categories. So much easier to navigate than the millions of labels I had created with my old blog.
While I know next to nothing about HTML, I used some great tutorials on the web to create the look myself.I like how streamlined it is. Much less cluttered than the old one.
For the time being, I have no intention of taking down my Bowl of Cherrys blog. I have transferred some of the the content to kiki b omi, but there are five years worth of posts on Bowl of Cherrys and frankly, I didn't want to transfer all of it and also mess up all of the links that are out there floating around the web.
As far as content, I am leaning toward a little less focus on our family and more focus on creating on kiki b omi. I still want to document our family, and haven't decided on how best to do this, however. I really do not want to keep up two blogs, but love being able to look back on the last five years of our life whenever and where ever I want to.
So all this to say, check out my new home on the interwebs. I would love to see you there!
There are several reasons that I wanted to do this. The first being a more unified web presence. (Don't I sound all highfalutin?!) Since I began my Bowl of Cherrys blog over five years ago, I also opened an Etsy store under a different name. That gave me three different web identities, Bowl of Cherrys, kiki b omi designs, and then the real me. Changing my blog to kiki b omi designs helps me to use Pinterest, Facebook, Instagram and more under one name. (If you follow me on Pinterest, you may have noticed that I switched to kiki b omi designs on there last week.)
I also wanted to simplify my blog. I did that by using side tabs that categorize my posts into six categories. So much easier to navigate than the millions of labels I had created with my old blog.
While I know next to nothing about HTML, I used some great tutorials on the web to create the look myself.I like how streamlined it is. Much less cluttered than the old one.
For the time being, I have no intention of taking down my Bowl of Cherrys blog. I have transferred some of the the content to kiki b omi, but there are five years worth of posts on Bowl of Cherrys and frankly, I didn't want to transfer all of it and also mess up all of the links that are out there floating around the web.
As far as content, I am leaning toward a little less focus on our family and more focus on creating on kiki b omi. I still want to document our family, and haven't decided on how best to do this, however. I really do not want to keep up two blogs, but love being able to look back on the last five years of our life whenever and where ever I want to.
So all this to say, check out my new home on the interwebs. I would love to see you there!
Thursday, January 2, 2014
Personalized Children's Messenger Bag

Peachy gave this mini messenger bag to a friend for Christmas. We filled it with some fun bath and hair products. It was so easy to put together that I got it done in a matter of hours.


Tuesday, December 31, 2013
Top Ten Posts in 2013
It has been a very fun and successful year here at Bowl of Cherrys. Thanks to all of my readers for your support over the past year! It wouldn't be fun to blog without someone reading it on the other end.


Here are the top ten posts from 2013. Can't wait to share more in 2014!


Friday, December 27, 2013
Foodie Friday: Five Must Try Dips
I have something to confess to you, I love a good dip. In fact, I would take an appetizer spread over a five course meal any day of the week. I have an entire Pinterest board dedicated to dips and it contains 70 pins! So, in the spirit of ringing in the new year, here are some of my current favorite sip recipes.
 1. Pickle Dip from Buns In My Oven: The perfect potato chip dip, especially for all of you pickle lovers out there.
2. Eight-Layer Mediterranean Dip from Whole Foods: This dip is super yummy with pita chips and dare I say, a bit on the healthy side of the dip spectrum?
3. Cranberry Cream Cheese Dip from Jamie Cooks It Up: A perennial favorite in our family. works well with crackers or tortilla chips. (I usually substitute canned green chilies for the jalapenos.
4. Pizza Dip from Recipes.com: I just made this for the first time on Christmas Eve and it quickly jumped to the top of my dip list. Perfect with crusty bread.
5. Buffalo Chicken Dip from Franks Red Hot Sauce: I have been making and loving this dip for over five years now. It goes perfectly with corn chips, especially Fritos, as well as carrot sticks and celery sticks.
There you have it. Some dipping yumminess for you to try. What about you, what is your favorite dip? (You know I need to add to my list!)

2. Eight-Layer Mediterranean Dip from Whole Foods: This dip is super yummy with pita chips and dare I say, a bit on the healthy side of the dip spectrum?
3. Cranberry Cream Cheese Dip from Jamie Cooks It Up: A perennial favorite in our family. works well with crackers or tortilla chips. (I usually substitute canned green chilies for the jalapenos.
4. Pizza Dip from Recipes.com: I just made this for the first time on Christmas Eve and it quickly jumped to the top of my dip list. Perfect with crusty bread.
5. Buffalo Chicken Dip from Franks Red Hot Sauce: I have been making and loving this dip for over five years now. It goes perfectly with corn chips, especially Fritos, as well as carrot sticks and celery sticks.
There you have it. Some dipping yumminess for you to try. What about you, what is your favorite dip? (You know I need to add to my list!)
Thursday, December 26, 2013

Friday, December 20, 2013
Foodie Friday: Cranberry Bliss Bars

Thursday, December 19, 2013
Five Ideas for Christmas Washi Tape
I snagged this great Christmas patterned washi tape on the Plaid Barn. When I ordered it, I didn't really know what I was going to to do with it. I just knew that I liked it and would find some way to use it up. I have been having such fun figuring out different ways of using it and thought that I would share some with you today.
 1) Sealing Christmas Cards: I started using it to spice up the backs of the envelopes for our Christmas cards. A couple of strips over the sealed flap added some great visual interest. (I am not sure how the postal service feels about using it this way. I am hoping my washi tape isn't jamming up all of their machines.)

2) Decorating Buckets and Dishes: We had a little hot chocolate bar here the other day and I used the washi tape to turn ordinary buckets and dishes into festive serving pieces. When I was done, I just removed the tape.
 3) Christmas Packages: Before I mail a package this year, whether for myself or my business, I have been adding a couple of strips of washi tape. Sure does liven up a plain cardboard box! (Once again, I may be on the postal service's naughty list for this one.)
 4) Christmas Present Tags: I usually make some sort of homemade tag for our Christmas gifts. This year, I am using my washi tape. The best part is that I know it will stay put through shipping and hauling.

5) Labeling Containers: Whether you are handing out Christmas treats or just taking a dish to a potluck, this is a great way to keep track of whose is whose. And when you are done? Simply remove the tape for the next time.
 Do you have any unique uses for washi tape?


2) Decorating Buckets and Dishes: We had a little hot chocolate bar here the other day and I used the washi tape to turn ordinary buckets and dishes into festive serving pieces. When I was done, I just removed the tape.


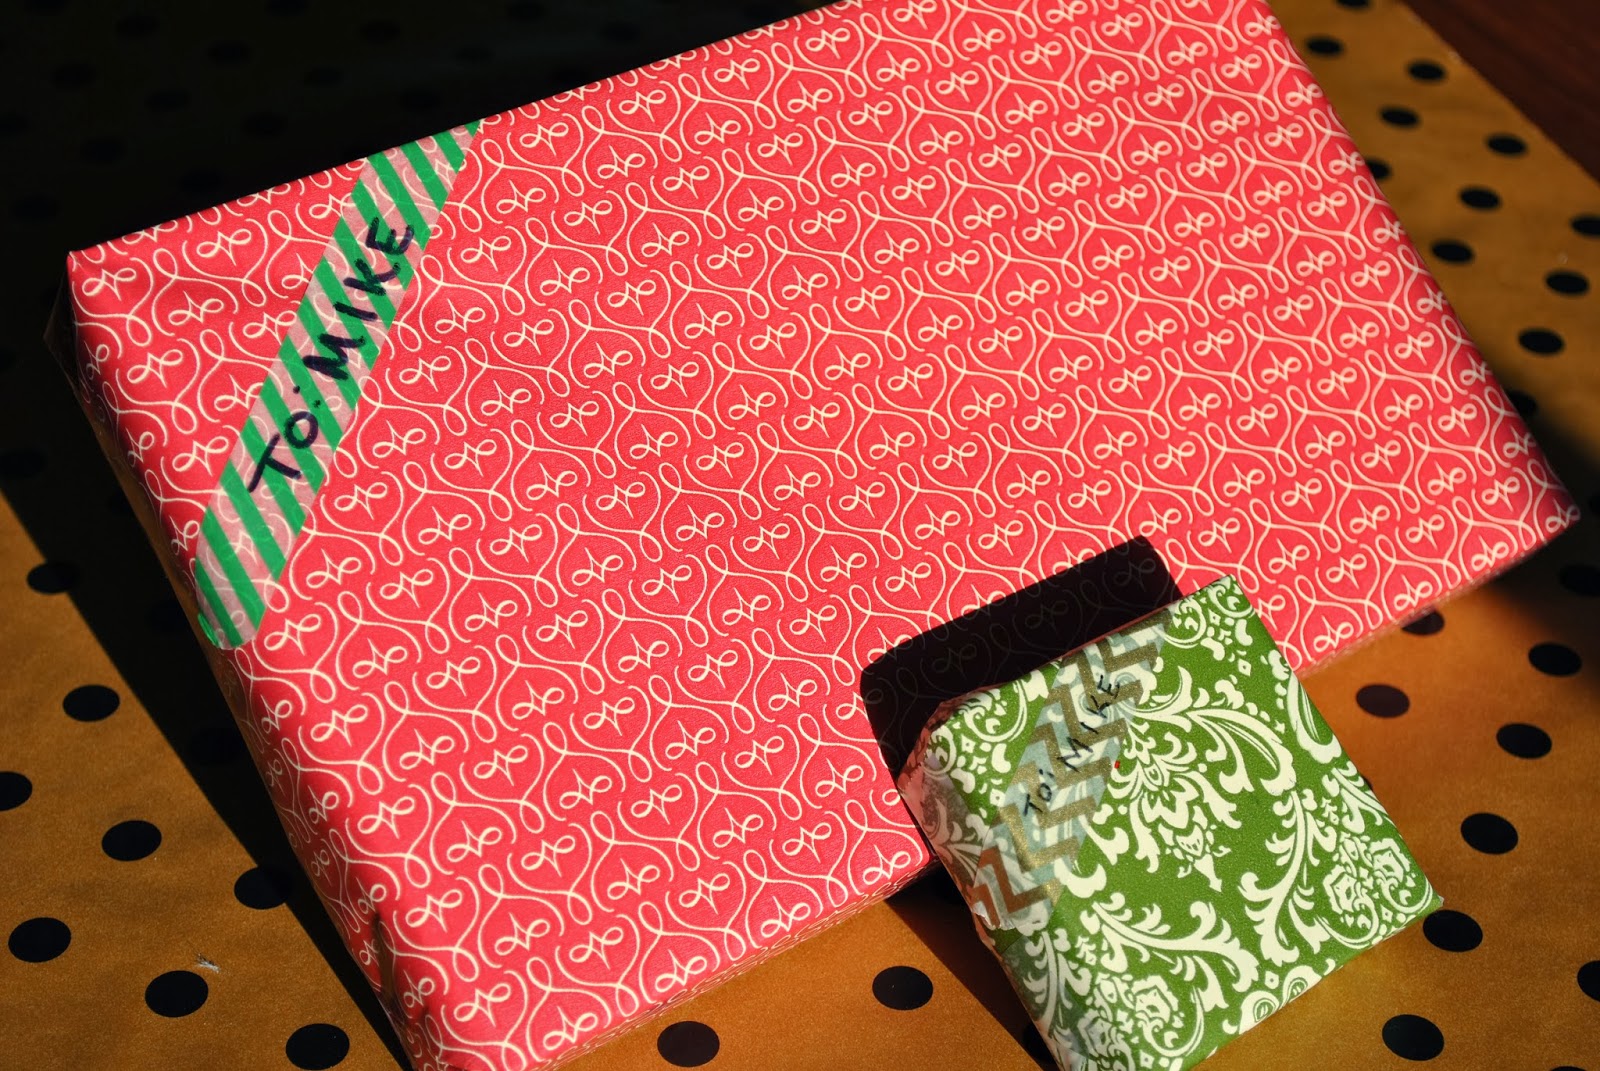
5) Labeling Containers: Whether you are handing out Christmas treats or just taking a dish to a potluck, this is a great way to keep track of whose is whose. And when you are done? Simply remove the tape for the next time.

Wednesday, December 18, 2013
Seen Around Here
Some of our antics as of late.
I hope all of your days are Merry and Bright as well!
 |
| Peachy's nativity scene arrangement of choice. |
 |
| Do you think Mary felt a bit overwhelmed? |
 |
| Hot cocoa drinking. |
 |
| Another photo shoot set up ala Peachy. (She also got both of them dressed on this occasion.) |
 |
| Not a day goes by that this girl doesn't play dress up. And usually her little sister is involved as well as some crazy ensembles. |
 |
| I took a cupcake decorating class. Now I can do the cupcake swoop like a pro. (Okay, maybe not a pro, but I can do it.) |
 |
| Peachy found my yoga mat and has been on an exercise video kick. She and Mr. Cherry even did the 30 Day Shred together. Wish I had been home to watch! |
 |
| Peachy decorated most of our tree! She really wanted to do it and I was totally fine handing the reigns over. |
Monday, December 16, 2013
Dare to DIY: Give Handmade Gifts: Ladies' Day {Covered Button Earrings}
Sorry, I didn't get around to posting this last week. You see, this little project wasn't completed until yesterday! It is hard to post about something that isn't done! I think that it is worth the wait, though!

The inspiration for this project comes from several craters that I know or follow. Dana from Botny makes the most awesome hand-colored earrings. You can check out her awesomely unique items on her Etsy page. Another crafter that makes some awesome earrings is Emily from Taea Made. Hers are finished with a high gloss. Totally rad. You can find a pair or two of her earrings on her Etsy shop and see some of the other unique items she makes. Also, Lindsey with the Pleated Poppy just released a new line of fabric earrings. Here is her shop where you can also see some of the other great products she produces.

For this project, I purchased the blank button sets at Joann along with the earring backs. I went with 1/2 inch and 5/8 inch because I wanted mine to be dainty, but you could totally go bigger. Then I set to covering the buttons with fabric scraps. This was so much fun! I loved looking through the fabric to find the perfect fabrics for this project. Just keep in mind the scale of the print. If you have smaller buttons, you will want a smaller print.

After covering the buttons, I removed the shank on the back and glued on the earring back. And just like that you have a totally unique gift for the any lady on your list.
***Note, I had some difficulty getting the shanks off. I eventually got them off. I have purchased blank buttons without shanks in the past for crafting, but didn't see any this time. I would recommend trying to remove the shanks before making the buttons.***

After assembling the earrings, I punched out a fun shape from card stock, poked two holes, free-handed some doodles, and put the earring sets on the cards.
Look for my children's handmade gift post here.
And my gentlemen's handmade gift post here.

The inspiration for this project comes from several craters that I know or follow. Dana from Botny makes the most awesome hand-colored earrings. You can check out her awesomely unique items on her Etsy page. Another crafter that makes some awesome earrings is Emily from Taea Made. Hers are finished with a high gloss. Totally rad. You can find a pair or two of her earrings on her Etsy shop and see some of the other unique items she makes. Also, Lindsey with the Pleated Poppy just released a new line of fabric earrings. Here is her shop where you can also see some of the other great products she produces.

For this project, I purchased the blank button sets at Joann along with the earring backs. I went with 1/2 inch and 5/8 inch because I wanted mine to be dainty, but you could totally go bigger. Then I set to covering the buttons with fabric scraps. This was so much fun! I loved looking through the fabric to find the perfect fabrics for this project. Just keep in mind the scale of the print. If you have smaller buttons, you will want a smaller print.

After covering the buttons, I removed the shank on the back and glued on the earring back. And just like that you have a totally unique gift for the any lady on your list.
***Note, I had some difficulty getting the shanks off. I eventually got them off. I have purchased blank buttons without shanks in the past for crafting, but didn't see any this time. I would recommend trying to remove the shanks before making the buttons.***

After assembling the earrings, I punched out a fun shape from card stock, poked two holes, free-handed some doodles, and put the earring sets on the cards.
Look for my children's handmade gift post here.
And my gentlemen's handmade gift post here.
Dare to DIY: Deck the Halls: Advent Wreath


Subscribe to:
Posts (Atom)

