


Hi All!
Today is a random kind of day. I have lots of littles going on right now and thought I would share some of it with you. Lucky!
*I bought the materials to make two floor poufs from the Living With Punks tutorial. I will share how they turn out.
*I will also begin working on some high school graduation presents today. The girls and I picked out the fabric earlier this week. Peachy is such a good fabric store shopper. She always manages to charm the store employees. I usually let her pick a fat quarter of her own when we are at the store. She is accumulating quite the stash.
*When we went to run errands yesterday I let Cream ride in the carts. Schlepping her around in the infant seat is getting to be quite the load for me. We even hit up Sam's Club where Peachy got to fulfill her months' long dream of rising in the cart next to Cream.
*This week I ran the farthest I think I have ever run at one time. I was at the gym and chose a fitness program on one of the treadmills and ran for the entire hour. Right as I was finishing wiping it off I was paged to childcare. Apparently Cream had received a little bit of a smack down from another baby and wouldn't calm down. It wasn't anything serious and once she spent some time with me and ate a bit she was fine. I didn't get the shower that I had planned, however, so I was pretty nasty.
*Yesterday Cream surprised me by clapping for me. It is so much fun when they learn a new trick.
*We just finished up our last day of in-home preschool. It was fun thinking back to hoe far these kiddos have come over the last few months.
*This afternoon I am off to get my haircut. It is always fun to have someone else wash and style your hair for you.
Time to get to sewing and laundrying and tidying up.
Thursday, May 24, 2012
Tuesday, May 22, 2012
Smoking 5k!
This Friday I laced up my shoes and ran in my second running 5k. (That means that I have walked many 5ks, but have only run one before this weekend.) As race week approached the weather was looking warm. Not just a little warm, but very, very warm. And unfortunately the forecasts were correct. We reached a record high of 93 the day of the event. For a girl who had been doing most of her training in the comfort of the gym, that was toasty!


I followed the race directors advice and left for the race one and a half hours early and it was a good thing that I did. The race traffic was backed up and I ended up having to park over 3/4 of a mile away. That is what happens when you join a race that has a goal of 10,000 runners and walkers!
I had been keeping myself hydrated throughout the day to get a jump on the evening run. And so upon my arrival, my first stop was the bank of port-a-pottys. To give you a glimpse at where my head was at that point, I spent a couple of minutes trying to figure out how to flush the thing. (Can you say pre-race jitters?) After that I made my way to the runners' line up and located my goal time area.
I am not a fast long distance runner. In fact, I could argue that I am not a long distance runner period. However, I had worked my way up to 3.1 miles and my goal was to finish it in around 30 minutes. Being optimistic I joined the 25-30 minute group instead of the 30-35 minute group. As I waited for the start I got more and more excited. In fact, I was so excited I got goose bumps. (Who gets goose bumps in 90 degree weather?!!)
After walking to the start line and the gun, I was off with the thousands of other runners. And that pre-race excitement stayed with me and got the better of me. I clicked off the first mile fast. Too fast. I was having a hard time finding my pace and I paid the price. I ended up having to walk at a few spots along the way. But those out there cheering from the sidelines and the other runners gave me the strength and encouragement that I needed to get back running again.
In the end I finished with a time of 32.05. It wasn't pretty. I didn't quite get the 30 that I wanted. But I did get out there and run. And hopefully I learned a few lessons for my next 5k in June.
Some other stats. I finished in 1595th place out of 8399 finishers. 93rd out of 748 in my division. And 685th out of 5668 women.
Monday, May 21, 2012
Ice Cream Birthday Party

I made the invitations using Publisher and printed them at home. When I mailed them out I lined the envelopes with some ice cream treat paper I had found at JoAnn Fabrics.

Since we would already be indulging in treat laden frozen yogurt, I decided to forgo any cake. Instead I attempted to make these ice cream cone cookies from Bake at 350. And while I am all sorts of crafty, I know that I have mentioned on here that I am not a cake/cookie/candy decorator. Props to those that are. Here are how mine came out.


Today's Creative Blog
Making the World Cuter
The Sweet Talk Shop


Friday, May 18, 2012
Foodie Friday: Chocolate Covered Potato Chip Cupcakes

I started with a box of chocolate cake mix, a can of Pillsbury Easy Frost, a bag of potato chips, and some chocolate almond bark.


I am linking to:

Tuesday, May 15, 2012
The Show
.JPG) |
| *our booth #21* |
 |
| *our business cards* |
 |
| *embellished frames* |
 |
| *some of our merchandise displayed on an old high chair* |
When I saw that a local shop would be having this one day market featuring refinished and re-purposed items along with "local artisans" with a very reasonable entry fee, I decided it would be the perfect place to debut our business. So we got up bright and early last Saturday and set up our tent in the store parking lot alongside other artisans and junk vendors.
 |
| *pacifier clips* |
 |
| *old ladder merchandise display* |

Since the focus was on the junk portion of the market, it took a little while to see the action at our tent. However, the customers eventually made there way over to the artisans and I think all of us did a good business as well. By 4 pm we were all tired, a little bit sunburned, and ready to pack it up for the day.
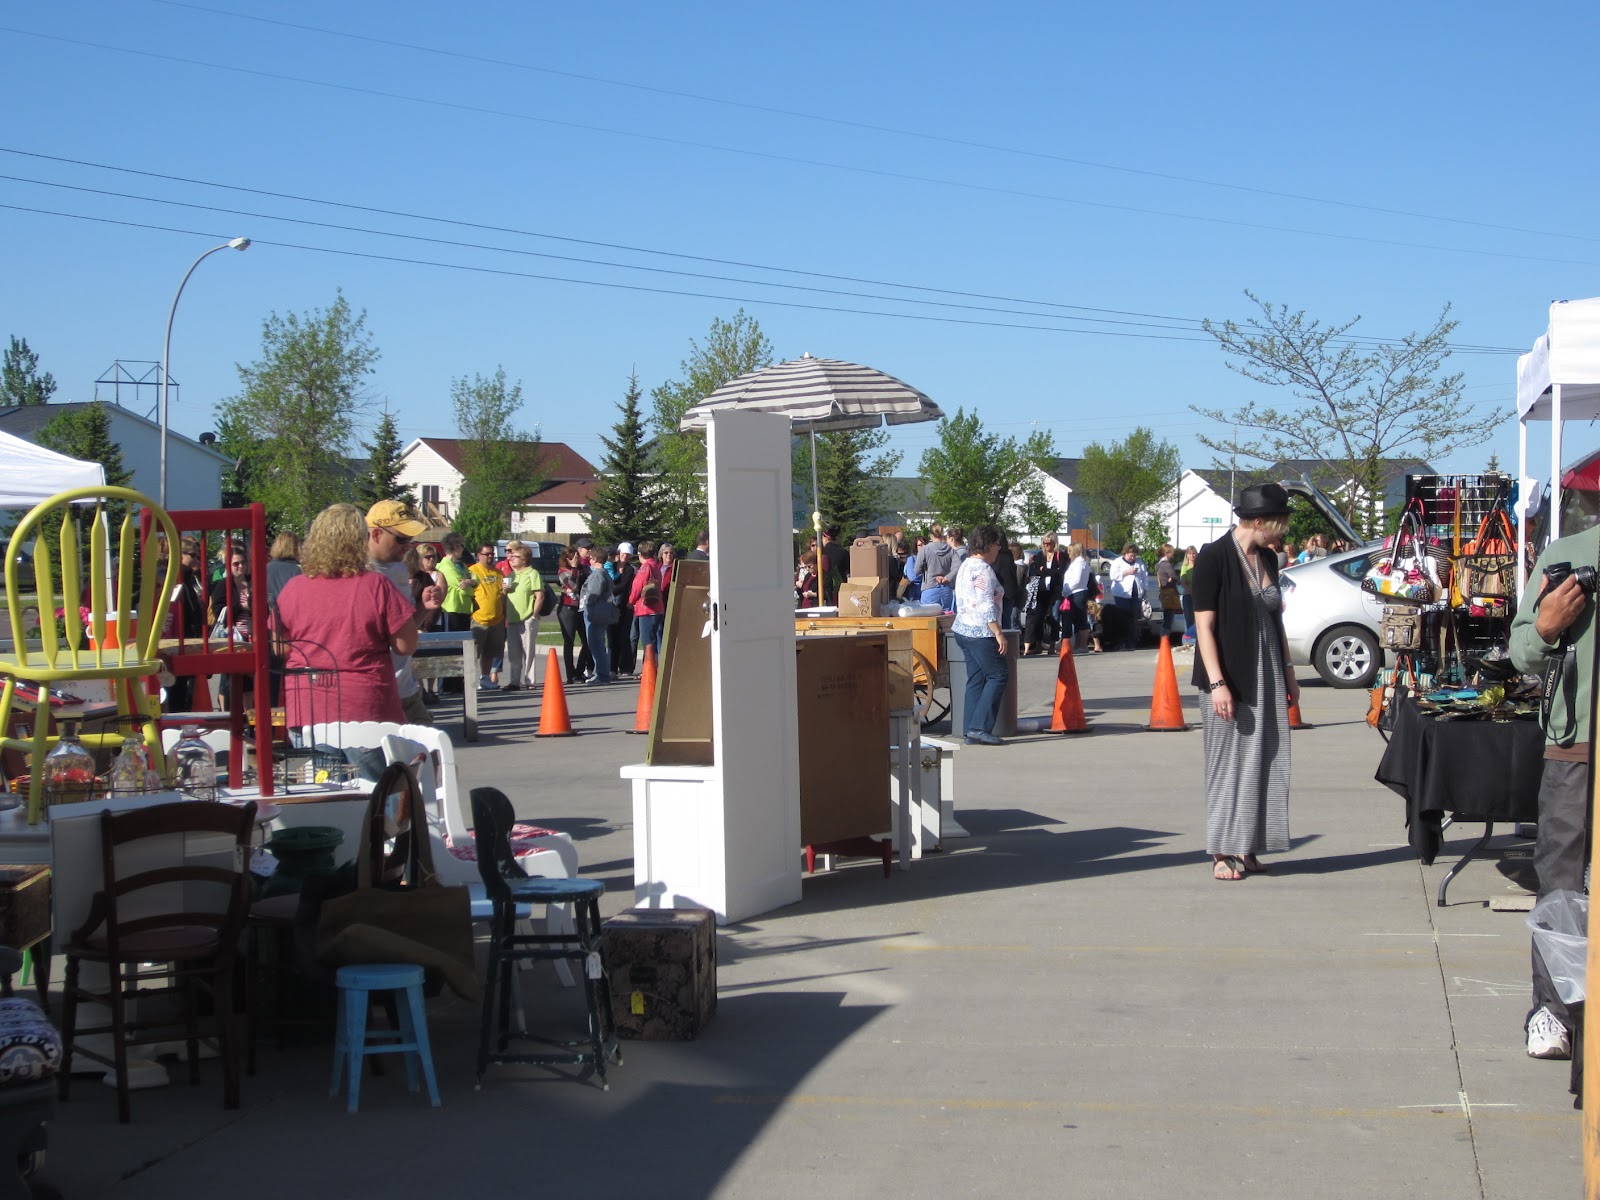 |
| *the line before opening* |

We all came away with positive thoughts on the experience and now are looking for the next show!
Monday, May 14, 2012
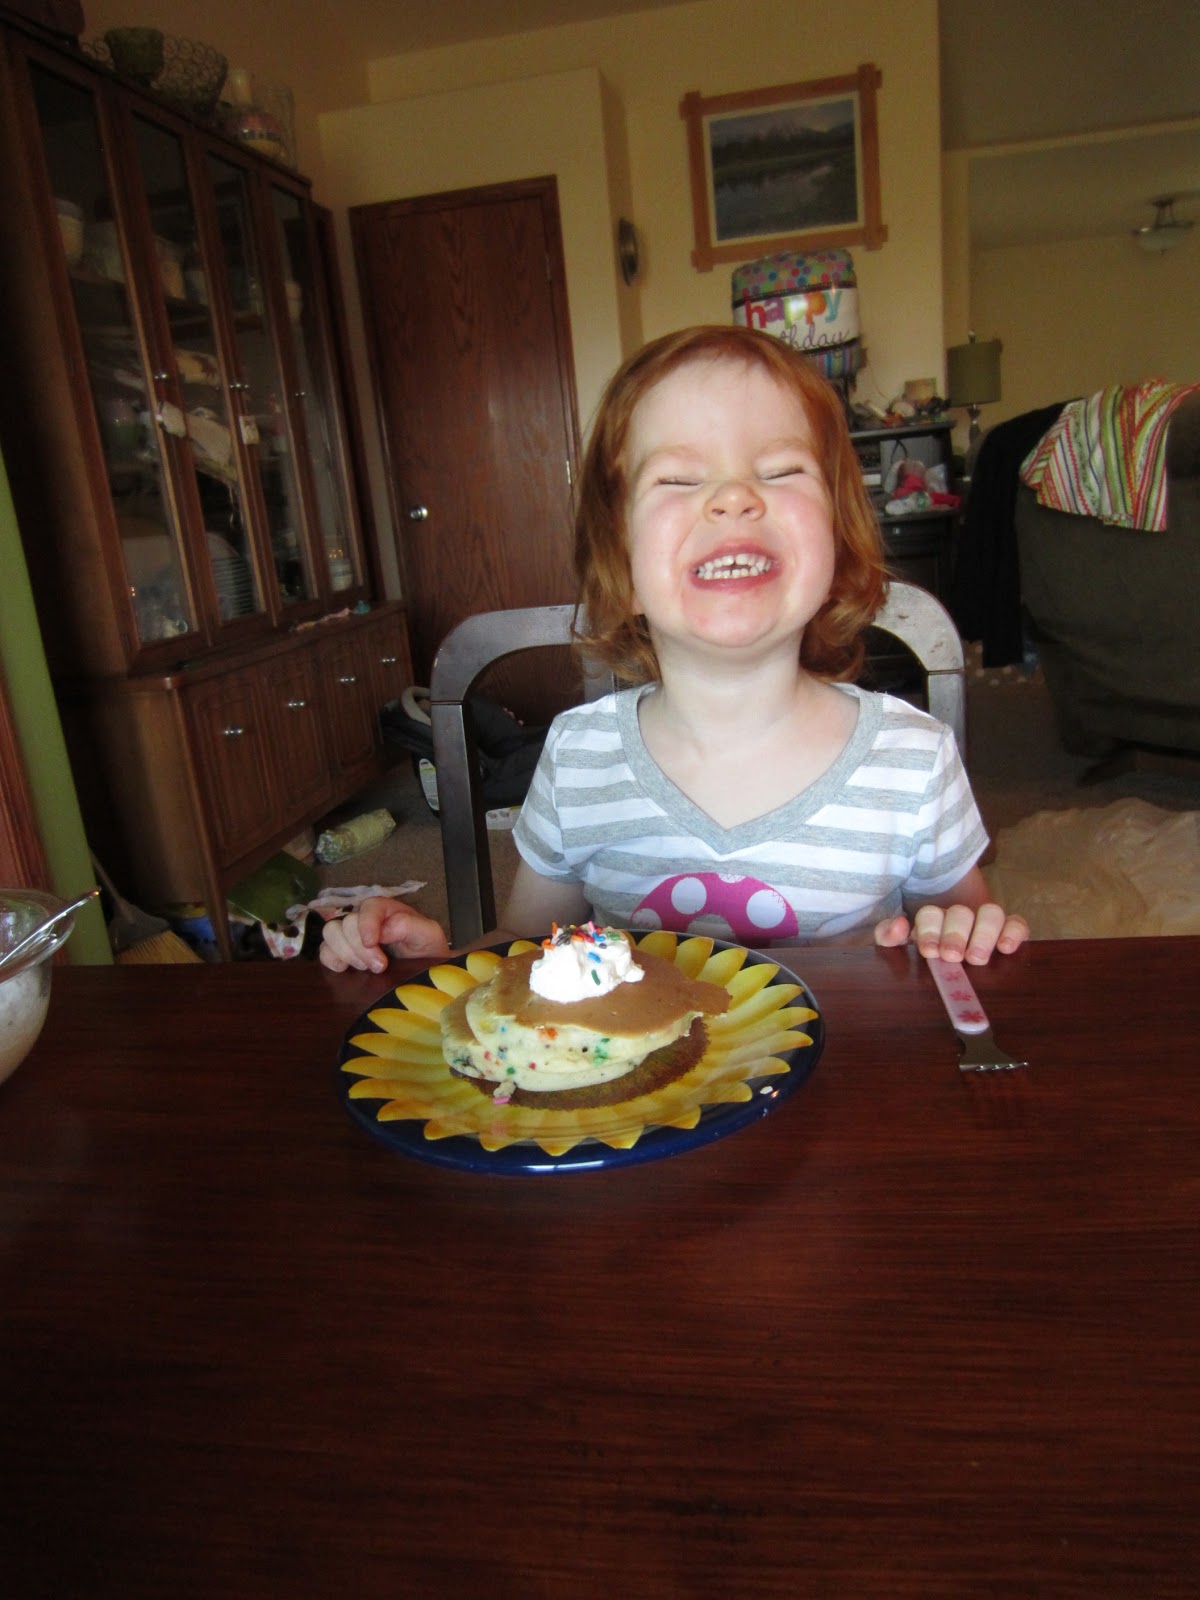
Peachy is Three!!


Friday, May 11, 2012
Thoughts on Mothering

And so, last night I sat and watched Peachy playing with some of her gifts and had tears in my eyes and a different feeling in my heart. I thought of how she is growing and maturing and how I won't be able to always keep her close and shield her from the hurts in the world. Of how this is the start to her experiencing new adventures in her life that I won't always be a part of. I caught just a glimpse of sending her off to her first day of kindergarten, watching her ride her bike away to a friend's house, kissing her good-bye as she ventures off into the world on her own.
And that, my friends, is what being a parent is really all about. The Lord entrusts these little ones into our care to nurture and guide, to equip them for the road ahead, and then let them go. It really does strengthen my resolve to be the best parent I can be for my girls now so that one day I can let them go with the full knowledge that they are prepared for what the world will bring them.
More on Peachy, her birthday, and what else we have been up to later.
Tuesday, May 8, 2012
Fabric Growth Chart Tutorial
Growing up, I can clearly remember marking our heights on the edge of a door at our homes. I still see one of those doors when we go and visit my parents. It is so much fun to see how tall my sisters and I were at different parts of our lives. Since my oldest will soon be turning three, I decided that it was time to create our own growth chart.
I made our growth chart with fabric and ribbon from the Ribbon Retreat's wonderful selection. This way we can easily hang it in our daughters' room and will be able to do so in any home we have in the future.

Growth Chart Tutorial Materials:

-1 yd solid fabric -5 fat quarter cuts of coordinating fabrics -1 yard each of 3 different 3/8 inch ribbons -2 yards of 1 1/2 to 2 inch ribbon -1/4 yard Heat N Bond Ultra -1/4 inch dowel cut to 12 inches in length -fabric marker Notes: *use a 1/4 inch seam allowance throughout *don't forget to back stitch at the beginning and end of all seams *to ensure a flat and neat chart, press each seam with an iron set to a cotton steam setting Directions: Cutting Instructions: -Cut solid piece into two 8 1/2 inch strips running the width of the fabric; trim selvages; piece together along 8 1/2 inch side; cut to 64 inches in length (piece A will total 8 1/2 by 64) -Cut remaining solid piece into two 12 1/2 inch strips running the width of the fabric; trim selvages; piece together along 12 1/2 inch side; cut to 68 1/2 inches in length (piece B will total 12 1/2 by 68 1/2) -Cut each fat quarter into six pieces measuring 2 1/2 by 6 1/2 (you will have 30 piece Cs measuring 2 1/2 by 6 1/2) -Cut 3 strips of Heat N Bond measuring 3/8 inches and running the width of the Heat and Bond Sewing Directions

 1. Following the manufacturers directions, adhere Heat N Bond to the back of your 3/8 inch ribbons. Once bonded, cut each ribbon into 1 1/2 inch pieces.

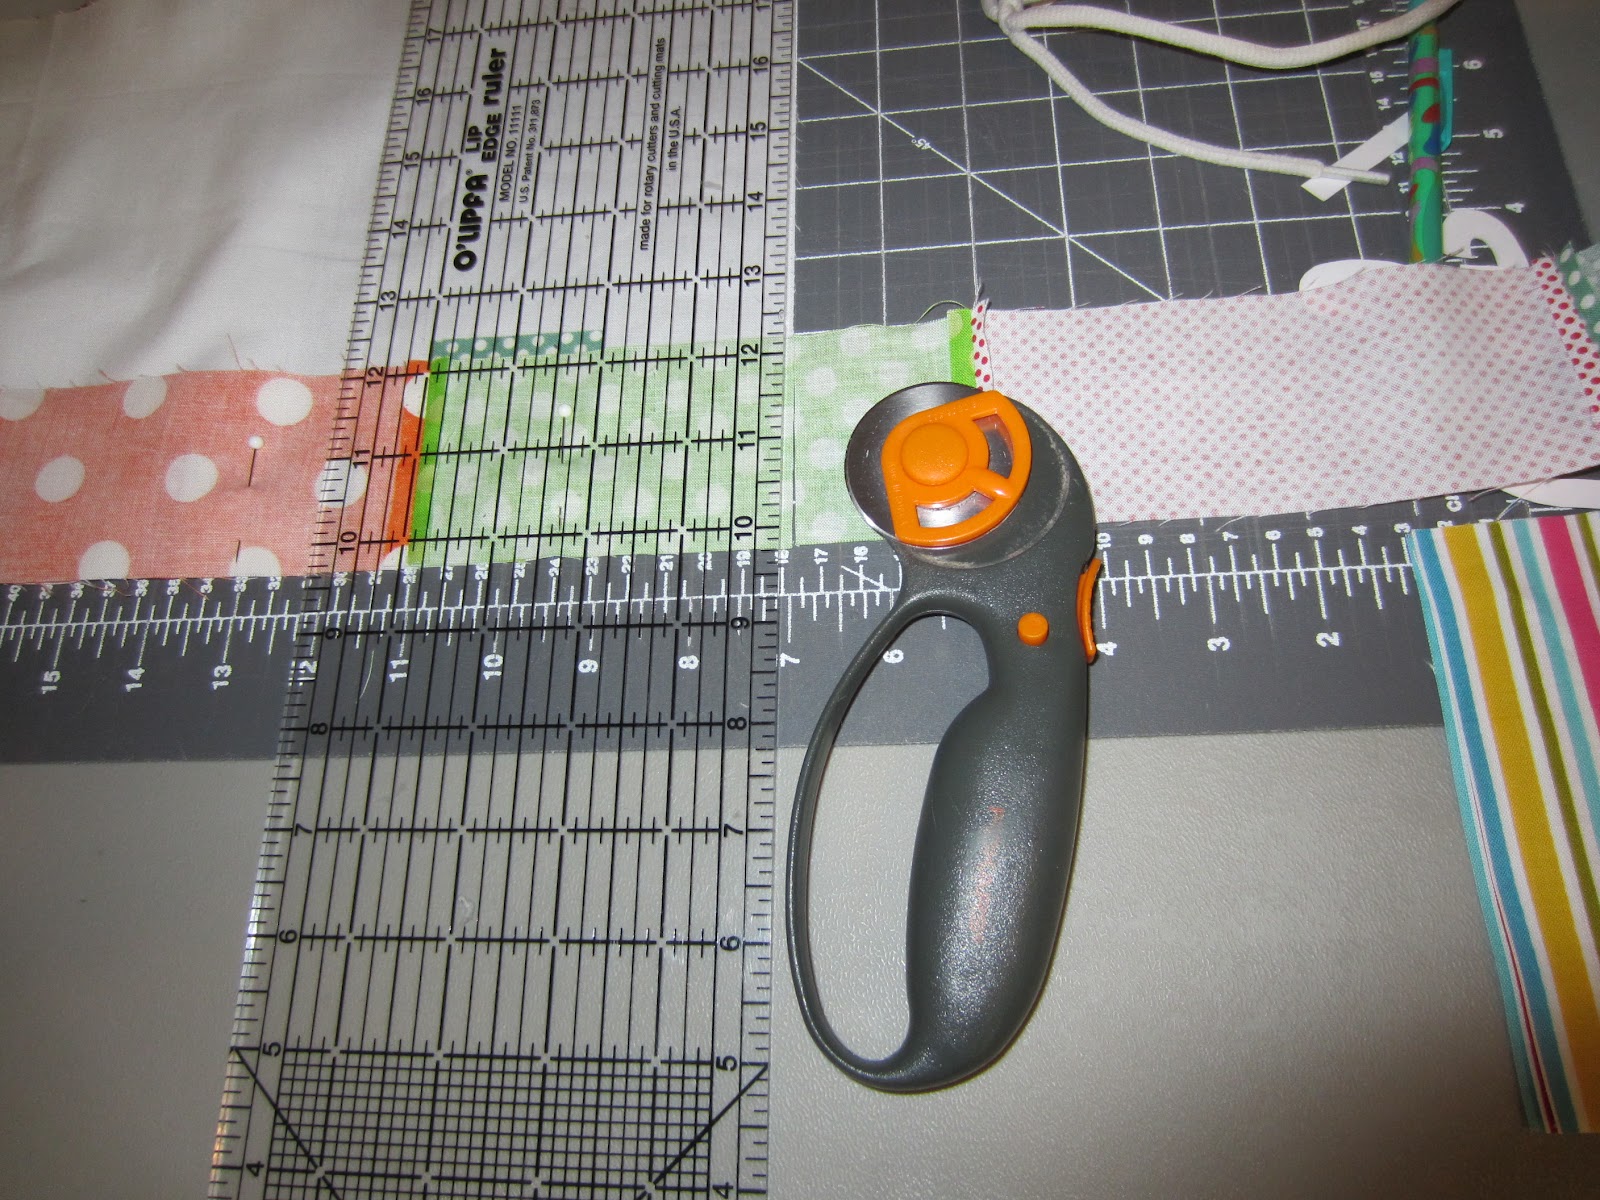
2. Stitch your piece Cs together along the 2 1/2 inch side alternating in pattern to create a long strip. (Remember to keep right sides together as you piece.) You will have a long strip measuring approximately 180 by 2 1/2. Press each seam flat.
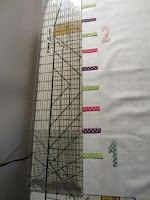
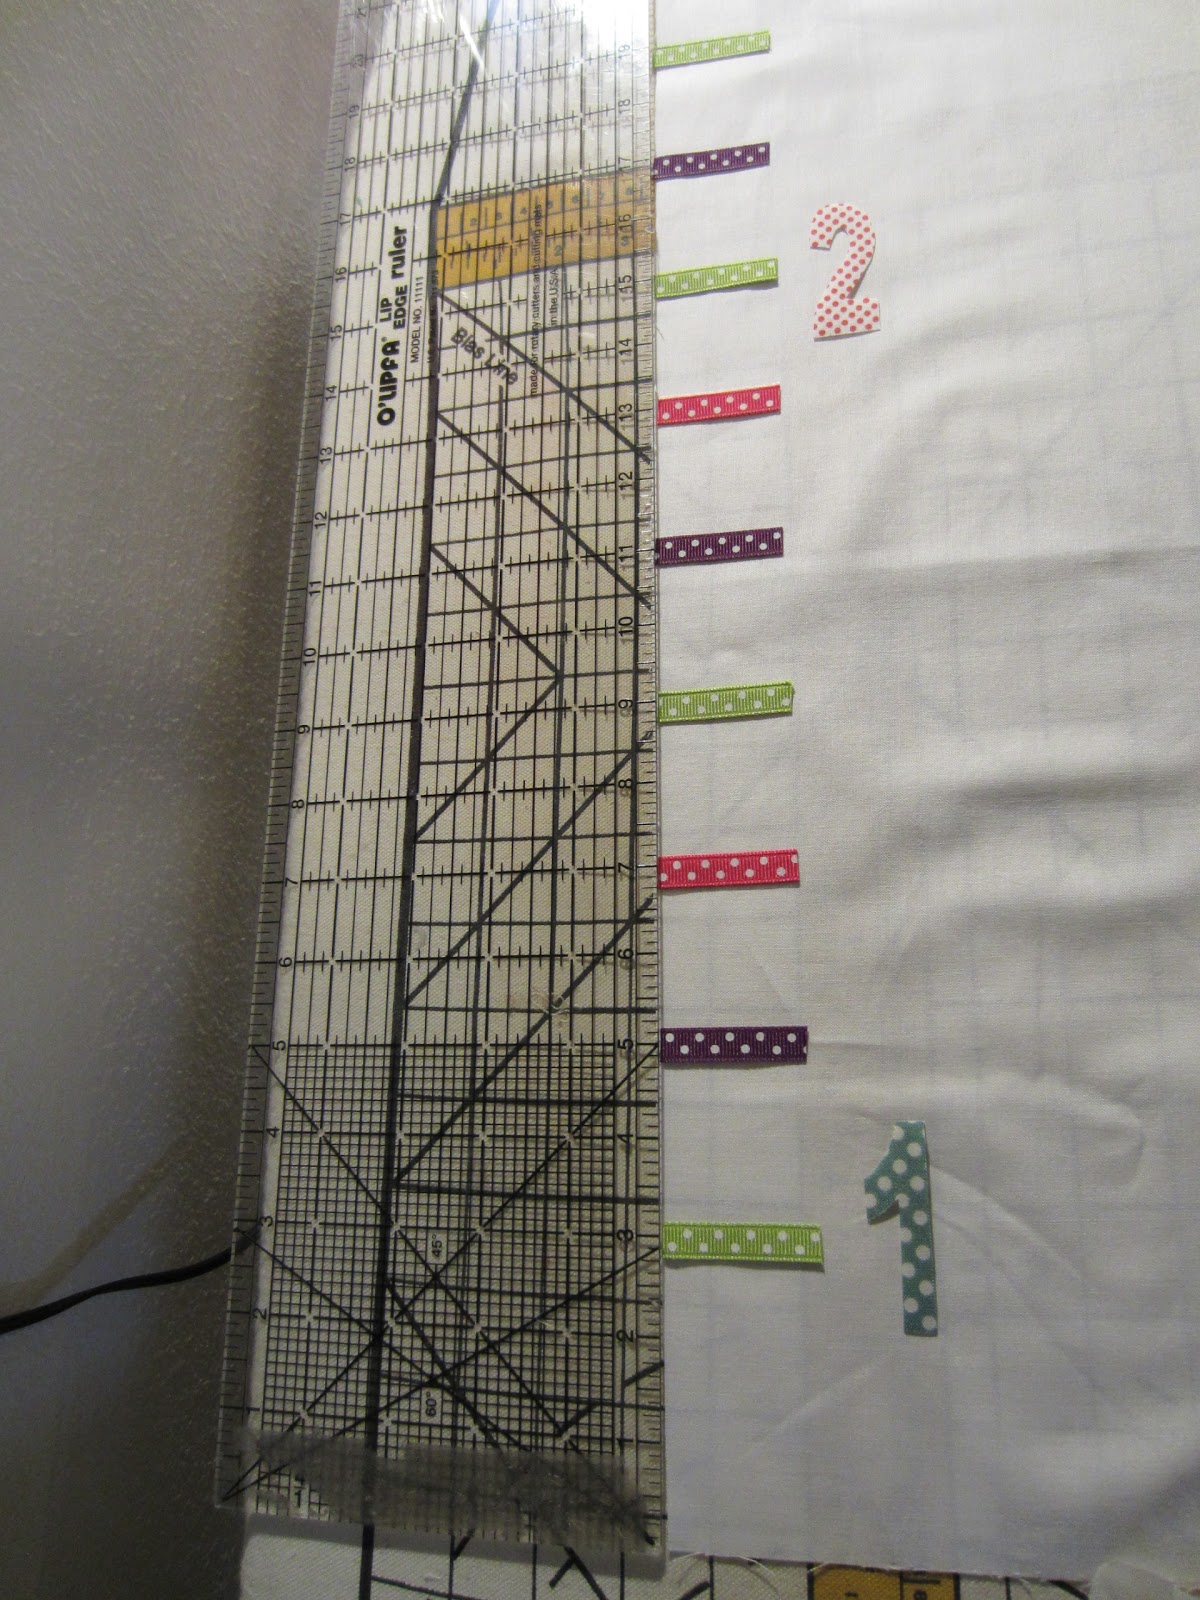
3. Measuring every two inches, bond ribbon to the left side piece A.

4. Reverse print numbers 1-5 onto card stock and cut out. (Your numbers should measure approximately two inches in height.) Trace onto the paper portion of remaining Heat N Bond. (Remember to keep your numbers backward as this will be the back side of the fabric.) Adhere Heat and bond numbers to remaining pieces of your fat quarters. Cut out. Bond numbers to the left side of piece A every 12 inches.

 5. Pin your strip of Cs to the left side of piece A with right sides together. Stitch. Cut off extra at end and repeat with the right side of piece A. Press the seams toward the outside.
 6. Pin remaining strip of Cs to the top of piece A with right sides together. Stitch. Cut off extra at end and repeat with bottom of piece A. Press the seams toward the outside.

 7. You have completed the top of your growth chart. You will now have a piece measuring 66 1/2 inches by 12 1/2 inches.

 8. Now you will place piece B on top of your completed growth chart. Match right sides together and pin along all four sides. Remember to leave about a 5 inch opening for turning at the top center of the chart. (I like to mark that opening with double pins so I don't forget.)
9. Stitch around all four sides. Trim your corners and turn your growth chart out through the opening. You may need to poke each corner out. I like to use a bone folder, however your scissors or any other pointy object will also work. Just don't poke through the fabric or the seam. 10. Press the entire chart. Make sure to work the outsides seams out fully. When you reach the opening, press each layer in about 1/4 inch. Pin the opening shut.  11. Top stitch about 1/8 inch in around all four sides. This will help your project to lay flat and will also close your opening.
 12. Cut your wide ribbon into a 40 inch length. Tie a bow in the middle with the ends hanging. Pin the bow onto the top of the growth chart and sew to secure. Trim the ends if needed.

13. Attach the dowel to the top of the chart at the back to support the chart while hanging. 14. Hang your growth chart. Make sure that the number 1 is one foot off the ground. 15. You are now ready to mark your child's height. Using a fabric marker record the date and height on the chart.


 1. Following the manufacturers directions, adhere Heat N Bond to the back of your 3/8 inch ribbons. Once bonded, cut each ribbon into 1 1/2 inch pieces.


 5. Pin your strip of Cs to the left side of piece A with right sides together. Stitch. Cut off extra at end and repeat with the right side of piece A. Press the seams toward the outside.
 6. Pin remaining strip of Cs to the top of piece A with right sides together. Stitch. Cut off extra at end and repeat with bottom of piece A. Press the seams toward the outside.
 7. You have completed the top of your growth chart. You will now have a piece measuring 66 1/2 inches by 12 1/2 inches.
 8. Now you will place piece B on top of your completed growth chart. Match right sides together and pin along all four sides. Remember to leave about a 5 inch opening for turning at the top center of the chart. (I like to mark that opening with double pins so I don't forget.)
 11. Top stitch about 1/8 inch in around all four sides. This will help your project to lay flat and will also close your opening.
 12. Cut your wide ribbon into a 40 inch length. Tie a bow in the middle with the ends hanging. Pin the bow onto the top of the growth chart and sew to secure. Trim the ends if needed.

Subscribe to:
Posts (Atom)

