Showing posts with label Halloween. Show all posts

Wednesday, November 6, 2013

Halloween Photo Dump


Sorry these are out of order.

Blogger isn't cooperating with me today.

Here are some of the pictures I got of the girls for Halloween. (Note that there aren't any in their costumes besides the ones Mr. Cherry took the night before. It just wasn't meant to be!)
The girls and I wen't out and collected leaves for a project.

Note the lack of leaves in our yard. We live in a new subdivision and the trees are just starting to be planted. Advantage? Not so many leaves to rake. Disadvantage? No trees.

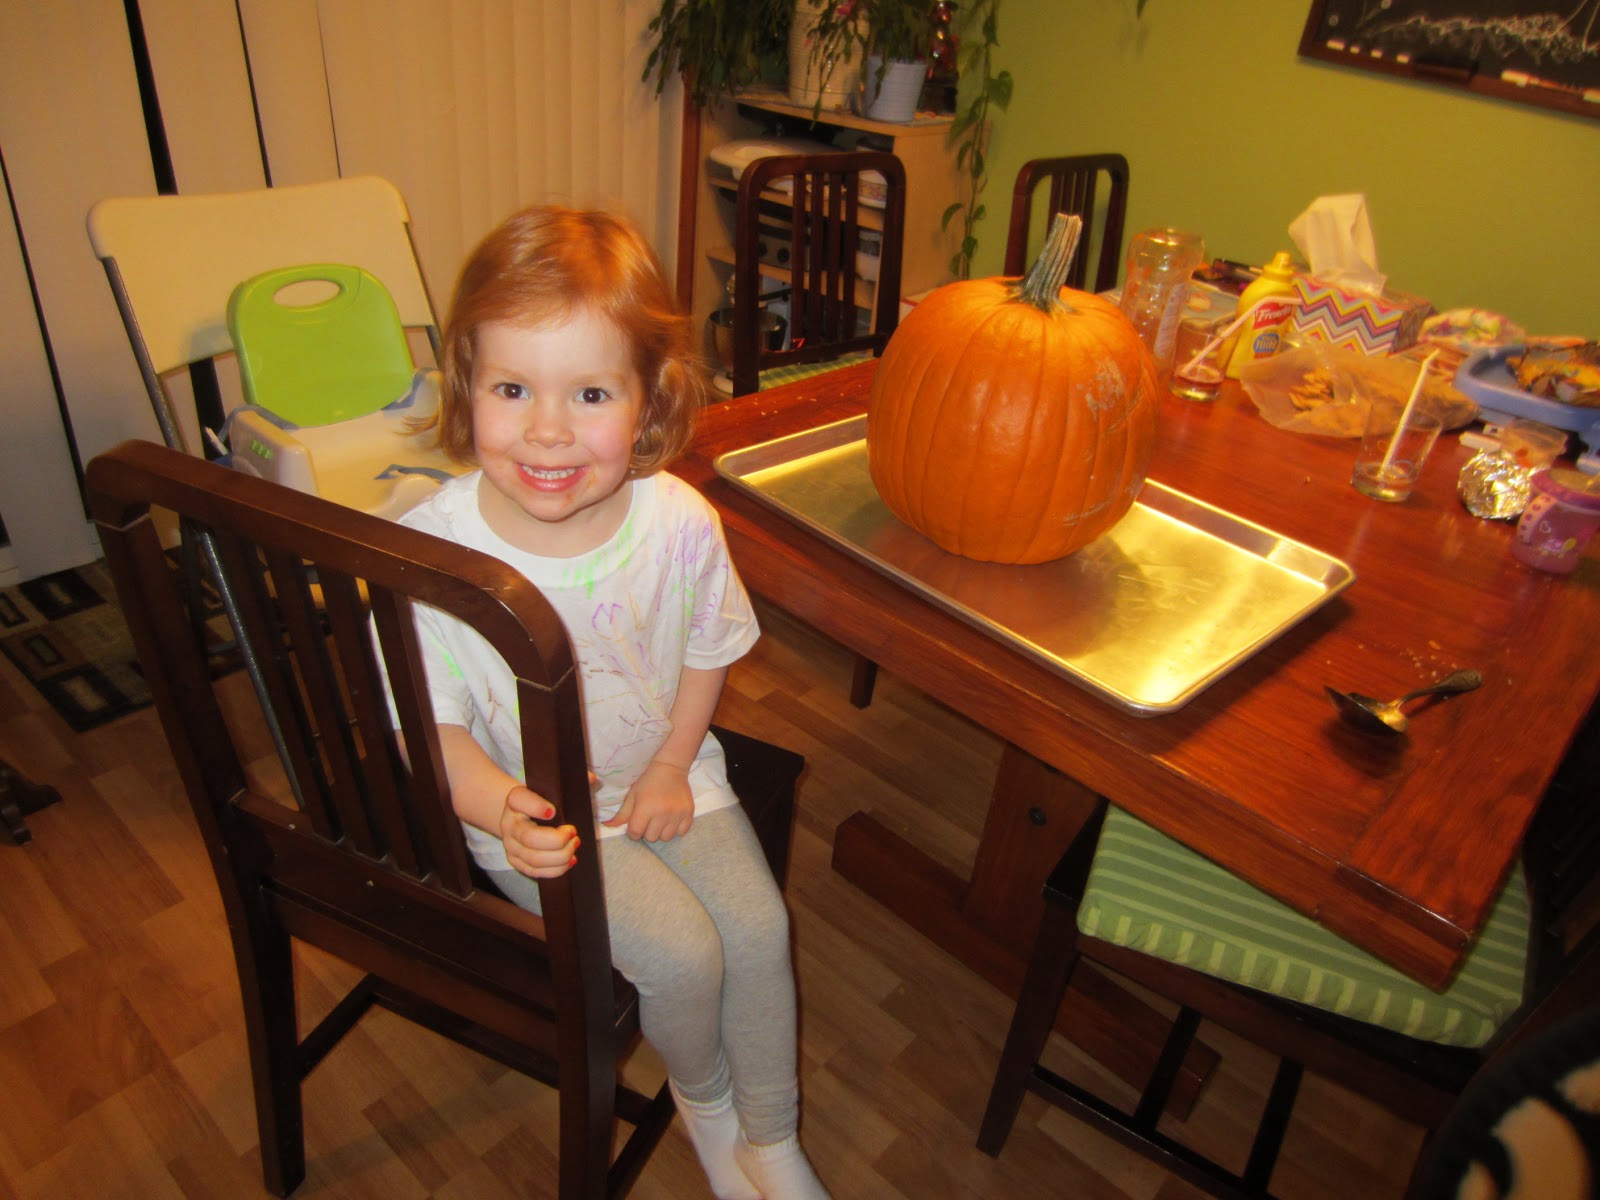
The girls and I started carving pumpkins a couple of nights before Halloween. 

Last year after Halloween I picked up one of those carving kits on clearance.

Peachy was pumped about using it.

Those suckers are a lot of work!

We got them both hallowed out and Peachy's carved, at which point I decided to wait and do the rest when Mr. Cherry came home.

We chose the only two cute patterns in the book.

Seriously, why does Halloween have to be all spooky and gore?

The girls and I also decorated sugar cookies.

Don't tell (really I don't care) I bought the plain cookies and frosting at the bakery department of the grocery store.

All of the fun and yumminess and none of the baking. Winning!
We did our normal around the block for trick-or-treating. Peachy was having a grand old time, but Cream had enough after a few houses. We also went to a local pizza place that was giving free slices for kids in costume with a paying adult that afternoon. That was a good treat. The next day we hosted a Halloween playgroup here. And then on Saturday I was in charge of the fall festival aty our church. We got in plenty of partying, I tell you!

Monday, October 21, 2013

Halloween Fabric Bunting


I can't believe that it has taken me this long to jump on the fabric bunting wagon. I have made paper buntings in the past, but finally sat down to conquer the fabric bunting. I am loving how they turned out and how quick and simple they are. I am thinking this is the start of an addiction.
Watch out, folks. There won't be a tutorial with this. The internet is already crawling with them. I just did some searches and found the one that I liked the best. I followed most of Leigh Anne's tutorial on Your Home Based Mom. 
I made my pennants a bit smaller, 7 inches long and 5 inches wide, and instead of using binding, I used twill tape simply because I had it on hand. I really liked the way Leigh Anne cuts her buntings. It made quick work. I ordered all of my fabrics from Fabric.com.
I bought a half yard of each print and that made plenty of pennants. I may have much more than I need.

Wednesday, October 31, 2012

Pumpkin Carving


Peachy got to help carve her first pumpkin for Halloween this year. I had told her that we might and she was pretty good about reminding me, but not bugging me about it. So, we went to Wal-Mart to pick up one of the $2.50 pumpkins they were selling. We easily found a really good one and brought it home to carve up. I did all of the cutting and my mom helped with the scooping. Peachy used a spoon to get all of the guts out. She did such a great job of listening and not being too crazy. I was so proud of her. And she was proud of her finished creation.
And, she wasn't eating the pumpkin. That is leftover ketchup from supper smeared on her face. :O)

Friday, October 26, 2012

Foodie Friday: Easy Monster Cookie Sticks

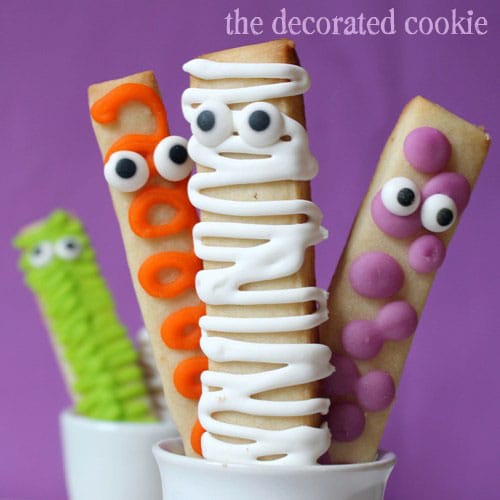
This week one of the items on my to-do list was to make a baked good for a bake sale. I turned to the ever trusty Pinterest and found these Monster Cookie Sticks from The Decorated Cookie. The term easy is what really reeled me in. While I can cook and bake, I am not a good food decorator. The best thing about these cookie treats is that the more imperfect they are, the cuter they get. Perfect for me! While I didn't get a picture before packaging them up and sending them off, here is a shot from The Decorated Cookie.
from The Decorated Cookie
While you are on her blog, be sure to check out some of her other great cookie and non-cookie creations!

Wednesday, October 17, 2012

Candy Corn Halloween Costume

Last Halloween I was so excited to be able to dress the girls in coordinating costumes! I turned to the internet for inspiration.
It was one of my first pins on Pinterest, the candy corn pillowcase dress sold on Etsy by Daintee Designs. And last Halloween I set out to make one for Peachy. I followed my usual pillowcase dress tutorial but before cutting it out, I pieced together strips of yellow, orange, and white fabric. I threaded through yellow ribbon on one side and orange on the other. Since it isn't always balmy in the end of October where we live, I put a white turtleneck underneath along with some white tights.
My mom suggested making Cream's by attaching a layered skirt to a onesie. Perfect. For hers I simply made a gathered skirt out of the orange and yellow fabric and attached it to a white long sleeve onesie. I layered it with some footed leggings we already had to add some warmth.
To make Peachy's barrettes, I started with a base of white felt cut out in the shape of candy corn and layered it with the yellow on the bottom and a stripe of orange on top. I covered an alligator clip with some yellow and white striped ribbon and glued it all together.

You can see the coordinating candy corn shirt I made for Peachy here.
These were the perfect Halloween costumes for a mother of a newborn. They came together super quickly and were easy to take on and off of the girls. They also were easily washed. Super important when dealing with a two year old and a two month old.
And can we just stop for a minute and look at how young the girls look in these pictures? Seriously! I can't believe how much they have both grown up in the last year. And I also can't believe that this was already a year ago! Crazy town.
**These pictures were taken by my talented photographer friend, Nina. If you are local and would like her information, please let me know.**

Monday, October 24, 2011

Candy Corn Shirt


After seeing this shirt on Pinterest I was inspired to make some of my own candy corn shirts. Instead of using felt, I used cotton fabric and Heat and Bond Lite. I found an image of candy corn using Google and traced each piece onto the Heat and Bond and then ironed them onto the correct color of fabric. After cutting them out, I ironed them onto the shirt and stitched around each piece. I was going to add the googly eyes, but decided I liked it without. A simple and fun Halloween shirt!

I am linking to these wonderful parties this week.
Today's Creative Blog

Tuesday, November 9, 2010

Tutorial Tuesday: Monkey Halloween Costume

I decided on Peachy's Halloween costume when I saw this monkey mask at Michaels on clearance. Funny where we find our inspiration, isn't it?
We used a brown shirt and pair of pants that she already owned under the tummy that I constructed for her. As for her tummy, remember my obsession with pillow case dresses? (Here and here.) Well, once I find something that I like, I have a hard time moving away from it. Using her pillowcase dress as a pattern, I cut out the dark brown fleece. I sewed the tan fleece oval on to the dark brown dress front, leaving an opening for stuffing. I made a casing for the ribbon ties at the top and a casing for elastic at the bottom. 
Remember her banana?
As any monkey can tell you, it is very convenient to have a pocket in which to hold your banana. So, I added a pocket to the back of panel. 
The look was finished off with a banana treat bag that I made out of some fabric that I had in my stash. 
Peachy loved trick or treating. We only went to a few houses, but the ringing the doorbell, the talking to people, the costume, and the candy were right up her alley. She also loved checking out the trick or treaters that came to grandma and grandpa's house.

Thursday, October 7, 2010

Jack-O-Lantern Shirt and Treat Bag

Little Peachy's Halloween costume may not be complete, but that doesn't mean that we have forgotten about the upcoming costume and candy season. Would you like to see what I did with this smiley and cute little guy?
For starters, I added his charming mug to this little treat bag that I made.
Cute, no? How about adding him to a black shirt as well?
Definitely cute! Now lets dial the cuteness factor up a little.
Ah, yes. That will do!
If you would like to sample some of this sweetness, you can purchase some of your own at my Etsy shop.


Photobucket


Sumo Sweet Stuff
Making

Tuesday, November 3, 2009

C-Y-O: Halloween Costume

Did you see Little Peachy's Halloween costume? I think that she is cute enough in it that I can post it again.

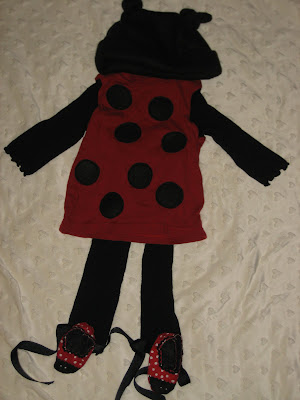
(Don't be alarmed by the disembodied lady bug below. I just figured you might want a closer look at all of the pieces.)


Remember my Dollar Spot finds? I used the two pair of black tights in the costume. One pair was worn the traditional way, on the legs. The other pair donated its legs for the cause. I purchased a long-sleeved red t-shirt which I then removed the sleeves. (Doesn't seem to make much sense, but stick with me here.) I took the extra pair of tights and cut the legs off following the original sleeve lines. I then surged the tight legs onto the shirt as new sleeves. (I wish that I had taken pictures as I went, but I didn't. You will just have to try to imagine it in your head.) I made a hat out of black fleece. The hat pattern had two extensions on the top that I tied into knots for antennae. I used the fleece scraps to make dots for the shirt. (I used Heat and Bond Lite and then straight stitched around each dot.) The costume could have been complete at this point, but I found this pattern on Etsy and knew that the shoes would really finish it off.


(I may now have a minor obsession with sewing baby shoes because of that pattern.) I only wish that I could dress Peachy in the costume more, but I am not sure what people would think of a Little Lady bug parading around town.