Friday, June 4, 2010

Blog Swap with Summer from Sumo's Sweet Stuff

Hi Bowl of Cherrys readers. Today Summer is doing a guest post over here on my blog. I hope you enjoy her great tutorial!!! --Kristi

Hello everyone!

I'm so excited to be guest posting over here today on Bowl of Cherrys. Isn't Kristi amazing?? I hope you go check out her awesome tutorial on my blog today!

I'm Sumo, from Sumo's Sweet Stuff!


Sumo's Sweet Stuff

My real name is Summer, but my husband nicknamed me Sumo when we were dating. (Should I be offended?) Now he's got all of my family, as well as lots of our friends, calling me Sumo. I think Aunt Sumo sounds pretty great, don't you? I live in Utah with my husband, and our two beautiful daughters!


Growing up, I never used to be all that domestic or crafty, so I think no one is more surprised than my mom at how I've ended up where I am today! I started Sumo's Sweet Stuff last May as a place to keep some of my crafting projects so that my personal blog wasn't overrun with them. Somehow, that developed into a place to host giveaways, share tutorials, share recipes, and feature fellow bloggers' ideas and blogs! I also use my blog to promote my etsy shop, so if you're ever in the market for some baby girl accessories, come on over! Every Monday is Market Yourself Monday, where you can link up your latest projects, and visit other blogs to get some inspiration!
Sumo Sweet Stuff
Today I'm going to share a tutorial with you that I posted a view weeks ago on my blog. It's one of my favorites (I'm actually working on a couple more right now!) so I just had to share it again!

Here's the tutorial for a darling t-shirt/onesie dress!


So here's what you need:
- t-shirt (mine was a $3.50 tank from Wal-Mart)
- fabric
- iron
- sewing machine/accessories
- buttons (optional)


You'll want to start off by using a dress your little girl already has for some measurements. For the body of the dress, you'll want to measure across the width, and then cut your width of fabric to be one and a half times that. As for the length, you'll just want to figure how long you want the dress to be, subtract how much shirt you are leaving, and there's your measurement for the length. If you are smart, use the fold of the fabric to cut this piece out. That saves you sewing a side. You can see that I was not smart.


For the ruffles, you'll want to make them as long as two times your width since you will be gathering them to make them ruffle. For the width, it just depends on how long your dress is going to be and how many different fabrics you are using. I needed five ruffles that would be about three and a half inches wide, so I cut them at four inches to account for seams. Again, use your fold! I got smart this time!


You'll want to pin the two right sides of your fabric for the body of the dress together and sew the seams. I used a 1/4" allowance.


Next I ironed a 1/4" on the bottom of the body and sewed it.
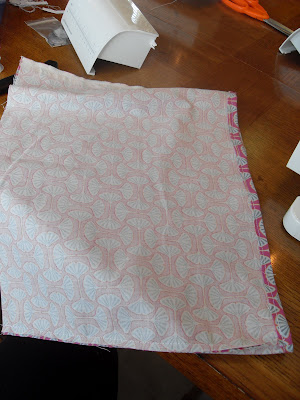

At the top of your body, do a gathering stitch by setting your stitch length to the longest length. Don't backstitch here! You'll need your thread ends nice and long so that you can pull.


After I did the body, I closed up one of the ruffles, ironed and hemmed it, and did the gathering stitch at the top. This was the ruffle I wanted to go first.


Next you are going to pin your ruffle, body, and half shirt together and sew a quarter inch seam.


Turn it right side out and top stitch.
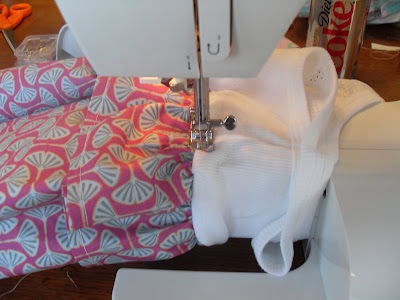

Doesn't this look like a little 80's dress??


Then you're going to want to hem and gather all of your other ruffles. Here's a little pile of ruffles!


Then, measure the distance that you want between ruffles. Okay, I was living on the edge and just eyeballed it! Pin your ruffle down and sew it all the way around.


Then top stitch all the way around. Do this for all of your ruffles.


Looking good so far!


Then I decided that I wanted to put something on the sleeves of the tank. I traced a circle and cut it in half.


Then I ironed down the curved edge and sewed it....


And then did a gathering stitch to give it a bit of a ruffle.


Sew them on to the tank.


Make a cute flower and hand stitch it on.


Hand stitch on some buttons.


And you are done! A cute, unique dress!


I also made one out of a onesie for my baby.


Then put them on the cutest girls you know and admire your work!


Foodie Friday: Grilled Banana Dessert

I recently found this idea in one of my magazines and thought that it sounded like fun. (I am sorry that I can't remember what magazine that it was. I have way too many magazine subscriptions right now. I am kind of addicted.) So, when we had the grill fired up this weekend we gave it a whirl.


Ingredients:
-bananas
-brown sugar
-rum (We had some Malibu on hand and the extra coconut was really good.)

Directions:
1. Cut bananas into pieces. Place pieces on top of a foil square. (I used one foil square for each banana.)
2. Sprinkle with brown sugar.
3. Add a dash of rum.
4. Seal off the packets by folding the sides.
5. Grill packets until the bananas are soft.
6. Serve over vanilla ice cream.

Thursday, June 3, 2010

How Does Your Garden Grow?

We finally got our garden in this past weekend. Before you judge, do know that we live up North where you really aren't able to plant until now. I look with jealousy on all of you whose gardens are already producing. (Yah, you know who you are!!)
I asked Mr Cherry, aka M, to build a small raised bed for our garden. We happened to have a large 12x2 that the construction workers building the house next door left behind. Mr. Cherry knowing that it would come in handy some day saved it. And it is now the sides of our garden. Before we could build the bed, though, we had to dig out the grass in the garden area. Let me tell you, I have a new found respect for the pioneers. That sod busting is hard work! Mr. Cherry and I were out digging until dark Thursday night, to prepare for the building on Friday. When I woke up and looked out at the garden on Friday, I found that our neighbor had fashioned a cross that said "RIP Fluffy." I guess the rectangular mound of dirt had inspired him. Unfortunately we didn't get a picture. My dad and Mr. Cherry built the box Friday afternoon and were also able to brig back one load of city compost to fill it up. Monday night found M and I digging in the dirt.. We bought three tomato plants and many different kinds of seed. We decided just to plant the seed rather than to start it off inside. We'll see if anything sprouts or not. I am counting this year as a rookie year. We will live and learn and maybe get a few things to eat.
I took it upon myself to put a fence up around the garden on Tuesday. I bought some steaks and what I thought was 28 feet if fencing. After pounding the steaks in, I unrolled the fencing. Turns out that it was 28 inches high and 5 feet long. Oops. So, Peachy and I went and bought more fencing. I used zip ties and wire to attach the fencing to the steaks. I was pretty proud of myself for getting the job done, but I knew it wasn't to Mr Cherry's standards. Yup, I was right.
When he got home he said, "Look at that!"
And I said, "It probably isn't what you would do, huh?"
He said, "It is pretty ghetto."
Maybe I will leave the fencing to him next time.

Wednesday, June 2, 2010

Tutorial Tuesday: Flower Flop

(Sorry that this post is a day late. I blame the whole three day weekend. With Monday acting like a Sunday, then Wednesday must surely be Tuesday, right?)
Well, today I set out to prove to you that life is not always a bowl of cherrys around here. Sometimes all that you are left with is the pits. (Okay, so that might be a bit dramatic, but I couldn't help myself.) When I saw this snappy flower corsage tutorial over at V and Co. I knew that I needed to make it.
It is so cute, how could I not? So I grabbed my glue gun, ribbon, and scissors and at the next nap time set out to make my own piece of cuteness. And here is what I got.
(And this is even a  flattering picture.) Obviously I cut my ribbon too big. (And it probably isn't event he right kind of ribbon anyway.) Needless to say, I won't be wearing this anytime soon. This flower is definitely a flop for me. Looking at V and Co.'s picture makes me really want to try it again, though. Just too cute not to.
Have any of you tried this tutorial? I would love to see your results if you have or do!!

Friday, May 28, 2010

Foodie Friday: Cake Balls


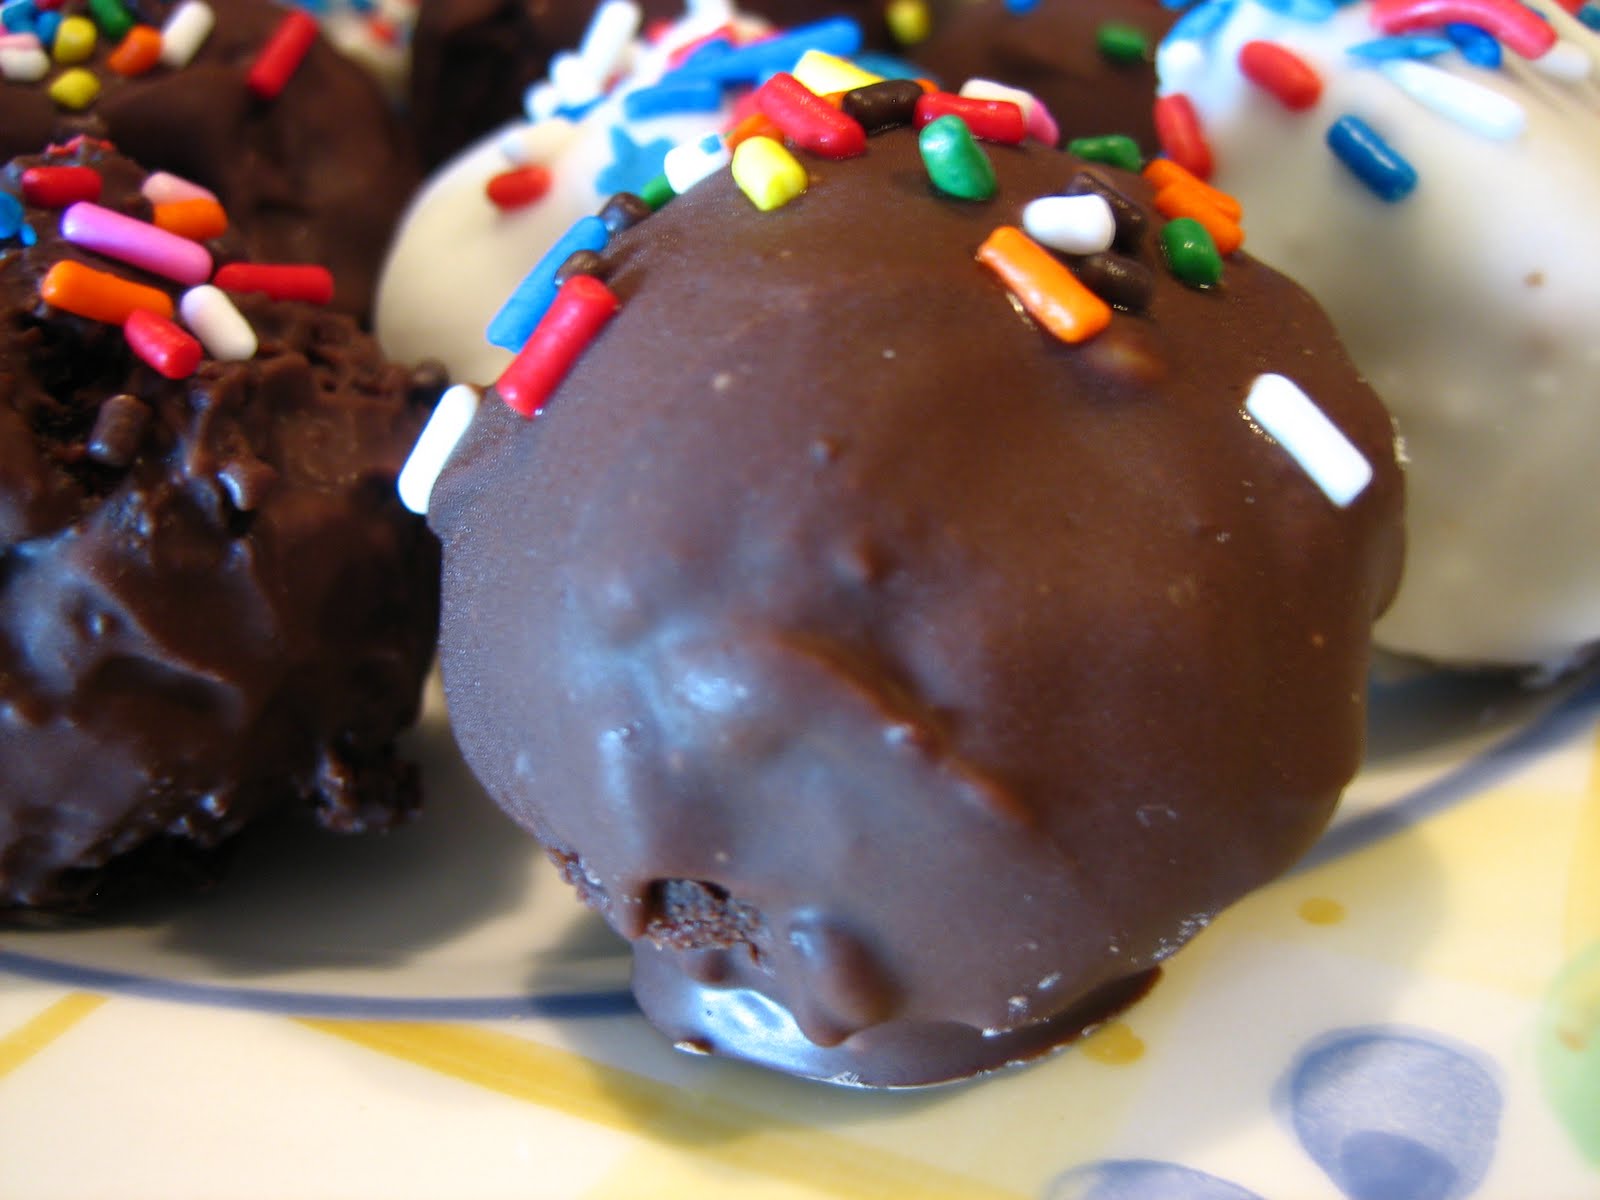
I know that cake balls and pops are nothing new to the blogging world, but thought that I would share the two batches I made with you anyway. (Not literally share, though. I have shared many already and need the rest for the weekend. You're on your own if you literally want some.)
Ingredients:
1 box cake mix (and the ingredients it requires) (I used funfetti for the white and chocolate for the chocolate)
1 tub frosting (White for the white and chocolate for the chocolate)
melting chocolate (I used Candy Quick for most of these, but also used some almond bark)
sprinkles (I found the red, white, and blue sprinkles at the Target Dollar Spot)


Directions: (You can also find excellent directions over at Bakerella)
1. Mix and bake cake according to box directions in a 9x13 inch pan.
2. Allow cake to thoroughly cool.
3. Crumble cake into a large bowl.
4. Stir in tub of frosting. (It really is easiest to just use your hands for this.)
5. Form balls with the cake/frosting mixture. (I used my cookie scoop to get the ball started and then finished it off with my hands.)
6. Place the balls on a parchment covered baking sheet and freeze overnight.
7. The next day, melt your chocolate however you prefer. (I use the microwave for small batches.)
8. Dip each ball in the chocolate. Before the chocolate hardens, top with sprinkles.
9. Allow to harden and refrigerate until use.
10. As long as you are dipping the cake balls, you may as well dip some strawberries as well.

I am linking to:
Visit thecsiproject.com